How to make striking product images for your e-commerce business on a budget
Or, more specifically: How to Colour Part of an Image in Adobe Illustrator.
Product Images are incredibly important for any e-commerce business. 99% of the time, a product image will be the first impression a potential customer will have of your business, and, of course, you want this to be as striking as possible. Although you’d like to get professional images created in an ideal world, if you’re running your business on a tight budget, you most likely don’t have the budget for this. With the advent of social media platforms like Instagram, many small e-commerce businesses find they can do quite well without it.
If you’re managing your branding yourself, you’ve likely come across the adobe suite of tools, including photoshop and illustrator. Purchasing the software can get quite expensive if you want to combine multiple tools, so we suggest going with a monthly subscription to adobe illustrator. Although Photoshop gets most of the shine, and most people see Illustrator as a tool for graphics and banners, Illustrator offers more flexibility and can often be used as a swiss-army-knife tool, including image editing allowing you to create everything from your logo to striking photos.
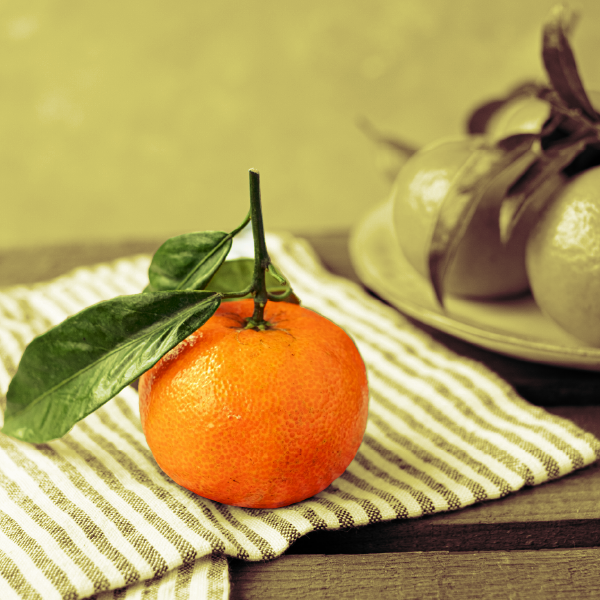
We’ve created this tutorial to showcase how Adobe Illustrator can be used to create striking product images that look professional for your Instagram feed; below is an example of how you can use adobe illustrator to make an image black and white but have your product in colour which is a great way to draw the eye to your product as well as providing a structured style to product images that are from a variety of sources.
This may take 10 minutes or so the first time you create an image, but as you get familiar with the process, editing and producing these images can take between 2 - 5 minutes, depending on the complexity of the product shape.
How to Color Part of an Image in Adobe Illustrator (Partial Black and white in Illustrator)
Step 1: Create a new file in adobe illustrator with your required dimensions. Tip. If you’re creating for Instagram, you can go with 1080 px by 1080 px or even go bigger to 1200px by 1200px . If you want a 30-second explainer on how to do this, check out our video here
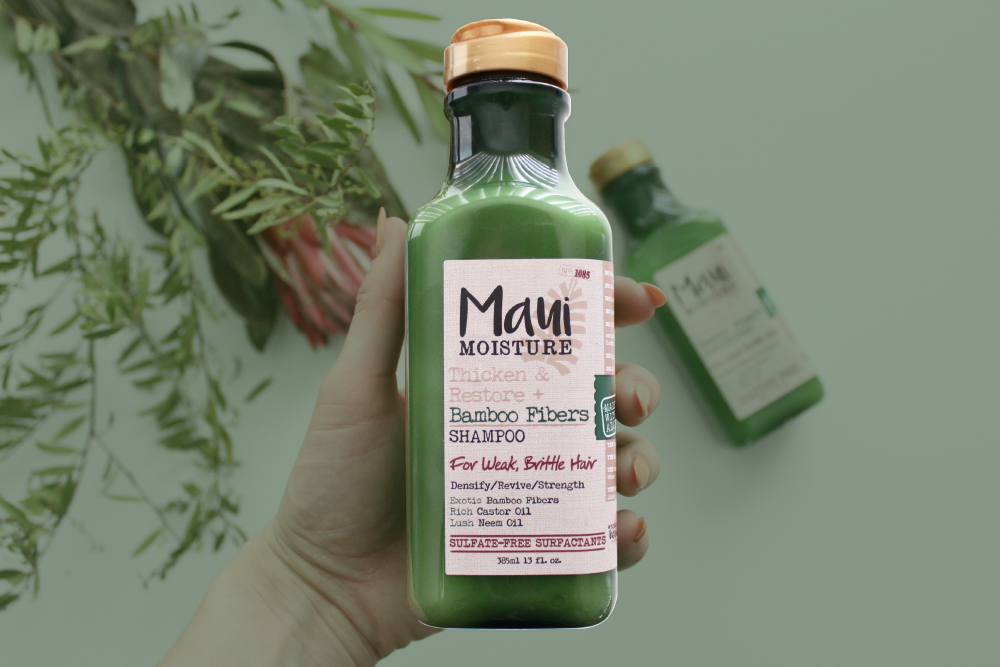
Step 2: Copy and paste your photo into Adobe illustrator and centre it on the artboard. You can scale the image up or down as needed. Remember, only the area within the artboard (the white box) will be exported as your image.
Once you're happy with the position of your photo, with your selection tool, select the image and copy and paste it.
Step 3: Ensure the newly copied image is perfectly aligned in front of the original image. This is easy as you can focus on positioning just one corner in line and the remainder of the picture will be too.
Step 4: Navigate over to the right-hand side properties panel, and select ‘Layers’ you can then create a new layer by navigating to the bottom of this panel and selecting the new layer icon.
Step 5: Lock the original layer, which will appear below your new layer. You can lock this by selecting the area beside the eye icon.
Step 6: Select your new layer at the top of the layer window and then navigate over to the pen tool. Ensuring you’ve set the fill colour to no-fill.
Step 7: this is the intricate part. Using the pen tool, by clicking around, begin to trace out the area you want to show in colour. (Tip: Accidentally clicked the wrong area, not to worry, by pressing the command button on Mac or Ctrl button for PC, you can move your trace line around.
You may want to zoom in closer on areas with curves; clicking more in those areas will allow you to follow the curve closer.
Continue tracing until you meet your first tracing point, which will anchor it all together as one piece.
Step 8: You can now unlock the layer below in the Layers navigation panel. This will allow you to now select the image and if you hover over the area you traced, you can select the traced portion while holding down the shift button on your keyboard and selecting the image behind it.
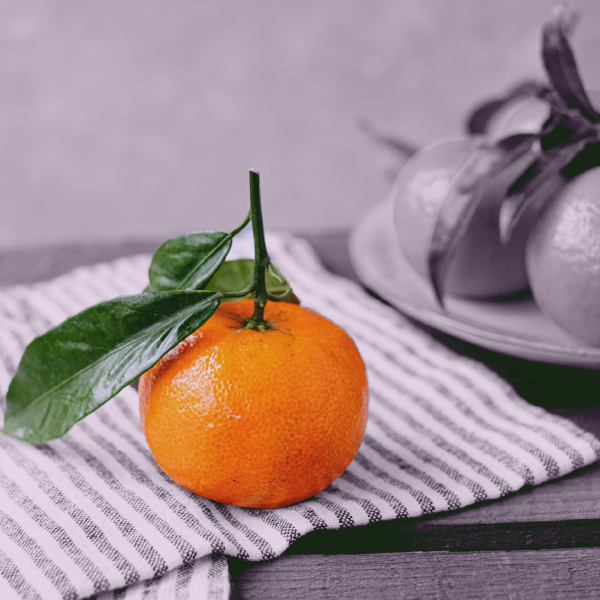
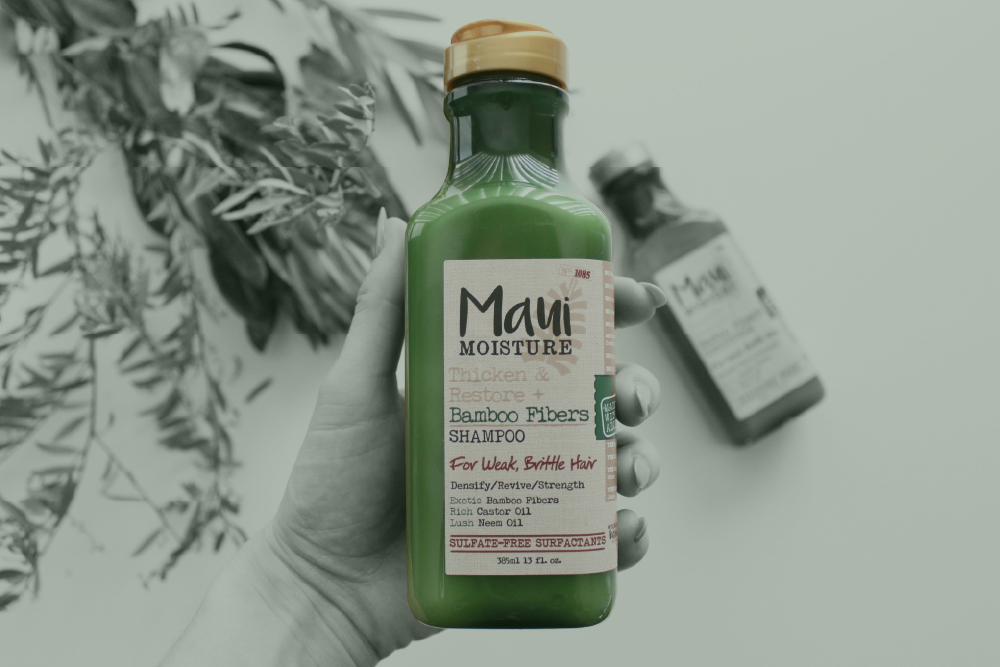
Step 9: With the traced area and the top image selected, navigate to your menu panel and select object; from the drop-down menu, hover over ‘Clipping Mask’ and select make. You’ve now got a perfectly aligned copy of the traced area on top of the duplicate image. You can make changes to the bottom image or the traced area for contrast. Today we’ll show a simple example, turning the background black and white whilst leaving the traced area in colour.
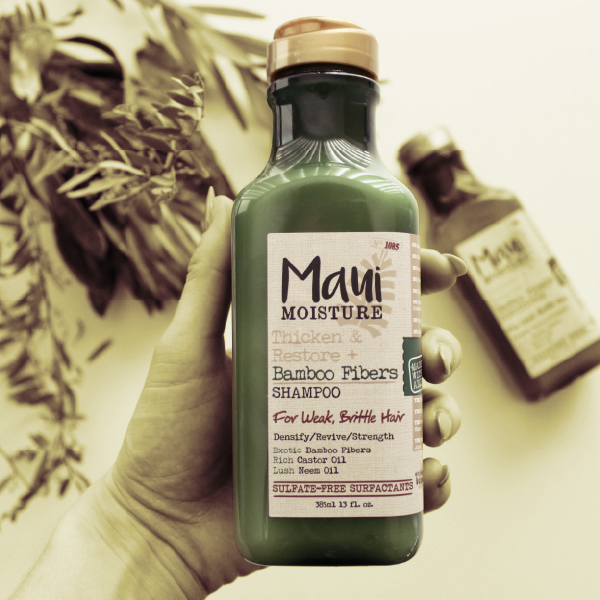
(From here that are quite a few directions you can go; you can overlay shapes with opacity to add alternative colours, you could use the opacity preset effect, the list goes on. We’ve added some quick examples of the types of images you can then go on to create below.)
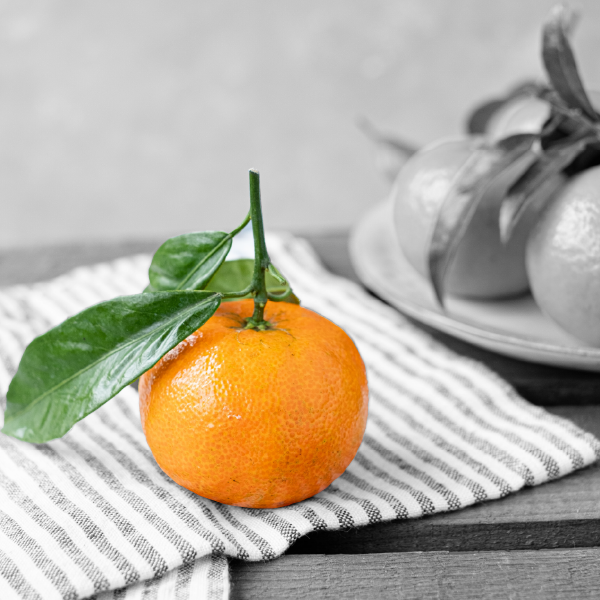
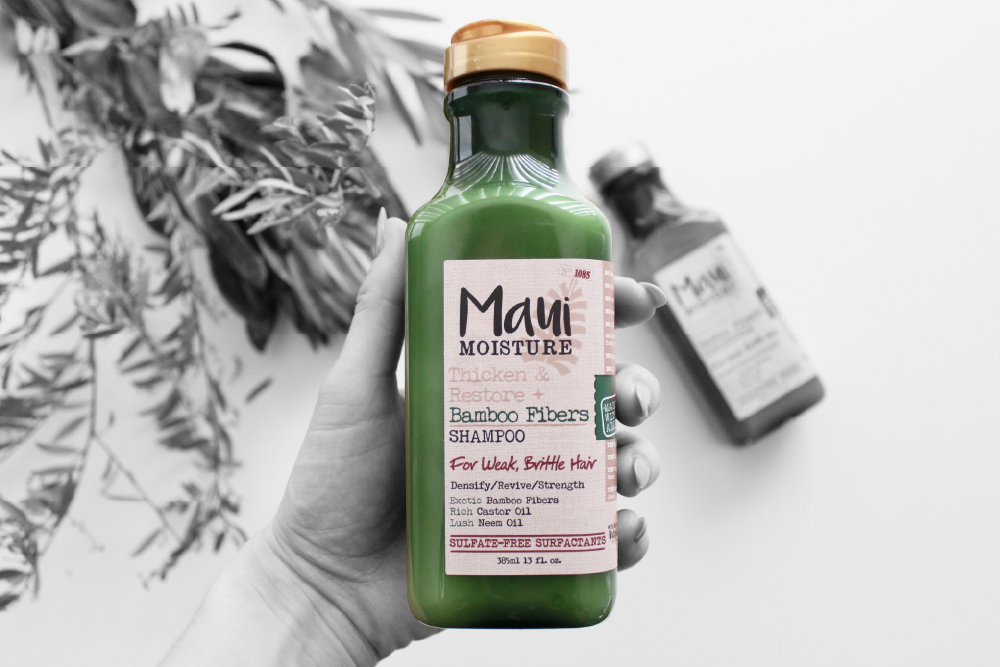
Step 10: Select the image, navigate over to the top menu selecting ‘object’ and then ‘rasterize’ from the drop-down. Where the pop-up window shots ‘colour model’ select grayscale and then complete.
You now have an image with the background in greyscale and the product highlighted in colour.
Product images are one of the key decision-making components for your potential customers and can be the difference between a purchase or cart abandonment. This is just one example of how you can add some more interest to your product images whilst on a budget, and to emphasise, this was not done by an expert or designer, so pretty much anyone can do this. If you’d like more tutorials or ideas on creating striking product images for your small business, please get in contact here.